Your device may be connecting to a distant node rather than the closest one if you’re experiencing weak signals or erratic speeds when utilizing a Linksys Velop mesh Wi-Fi system. Many consumers encounter the problem of their device selecting the incorrect access point even when their configuration appears to be perfect. This blog post will explain how to connect linksys velop to different node, why this occurs, and how to troubleshoot the device to resolve typical performance problems, such as the slow speed issue.
How To Use The Linksys Velop Mesh System?
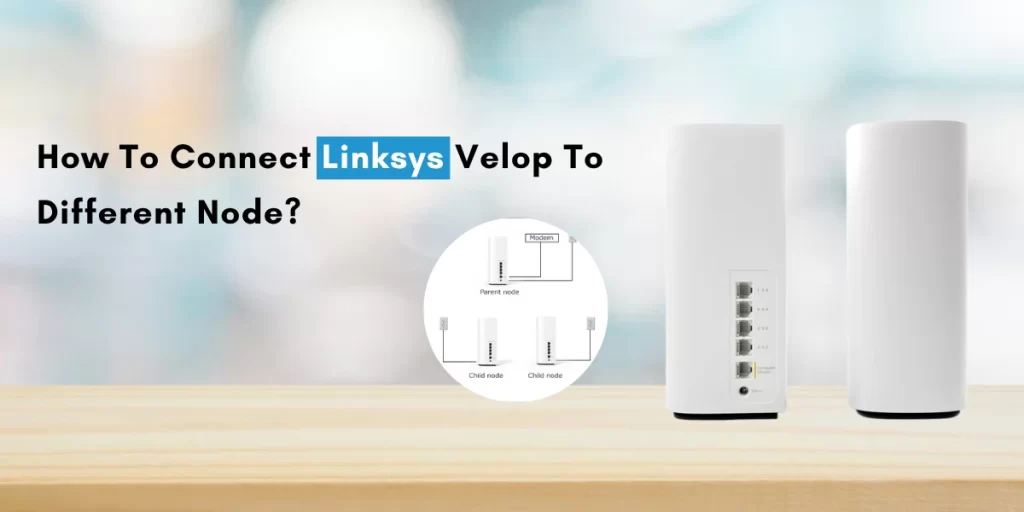
Let’s first examine Linksys Velop’s operation already moving on to the solution. A main router and one or supplementary satellite nodes make up this mesh Wi-Fi system. By forming a single Wi-Fi network, these nodes enable seamless communication across your house. Devices are automatically connected to the optimal node, which is typically the one with the strongest signal, by the system’s design. But it isn’t always the case.
- The Reasons Behind Devices Not Always Connecting to the Nearest Node
- One may question why my Linksys Velop not connecting to closest node.
Here are some typical explanations:
- Sticky client behavior: Even when a better node becomes available, a lot of Wi-Fi devices have a tendency to “stick” to the first one they connect to.
- Slow roaming settings: Some devices, particularly older ones, delay moving to a stronger node and do not allow quick roaming.
- Node placement: The best node selection may be hampered by signal overlap or dropouts if nodes are positioned too near or too far apart.
- Network congestion: When too many devices are linked to a single node, connection drops or performance problems may result.
Ways To Connect Linksys Velop To Different Node?
Regretfully, there isn’t a built-in method in Linksys for manually compelling to connect linksys velop to different node. Nonetheless, you might use the following strategies to change the behavior:
1. Turn your device’s Wi-Fi on and off
Your phone or laptop may occasionally be forced to reevaluate available nodes and connect to a better one by simply turning the Wi-Fi on and off.
Actions to take:
- Switch off your device’s Wi-Fi.
- To connect to a node, get closer to it.
- Restart Wi-Fi and join the network again.
- This technique works especially well if you are close to a less crowded node.
2. Restart the node from which you wish to disconnect
Rebooting the distant node will briefly disconnect a device that is “stuck” to it, allowing it to locate a stronger signal (often from the nearby node).
Actions to take:
- The node to which your device is currently connected should be unplugged.
- Hold off for 30 seconds.
- Allow your device to rejoin on its own; it ought to select the nearest node.
- Plug the original node back in after reconnecting.
3. If available, use Ethernet backhaul
Connect linksys velop to different node using Ethernet (as opposed to WiFi) enhances performance and aids in making better roaming choices if your house is Ethernet wired.
Actions to take:
- Ethernet cables are used to connect nodes.
- Make that Ethernet backhaul is turned on in the Linksys Velop configuration.
- This encourages more dependable node switching and lessens wireless interference.
- Enhancing Your Linksys Velop setup for Improved Node Connections
How To Connect The Nodes Appropriately During Setup?
A well-designed mesh network promotes devices to connect to the appropriate nodes even when switching is automatic. Here’s how to make your Linksys Velop configuration better:
1. Appropriate Node Positioning
- Nodes should be positioned equally apart and away from the main router.
- Steer clear of heavy metal items, microwaves, and walls that could interfere with communications.
- When configuring, make sure every node has a signal strength of at least two bars.
2. Firmware Update
Performance problems and defects can result from outdated firmware.
Actions to take:
- The Linksys app should open.
- Navigate to Network Administration.
- Look for firmware elevations, and if any are obtainable, install them.
3. Make Fast Roaming Possible
Devices that have fast roaming can move between nodes more rapidly.
Actions to take:
- The Linksys app should open.
- Go to Advanced Settings under Wi-Fi Settings.
- If your devices support 802.11r (Fast Roaming), turn it on.
Typical Issues and Linksys Velop Troubleshooting
Issue 1: The Linksys Velop is unable to connect to the nearest node
- Utilize the previously mentioned tips for Wi-Fi switching, node reboots, and placement optimization.
- Turn off and back on the Velop app’s “Node Steering” feature.
Issue 2: Linksys Velop Slow Speed Issue
- Look for an excessive number of devices linked to a single node.
- Test the speed close to every node.
- Avoid positioning the node close to sources of interference.
- To provide priority to important devices, allow QoS in the settings.
Issue 3: Unreliable Drops or Coverage
- Think about including an additional Velop node.
- Look for firmware upgrades.
- To assess signal strength at various locations, utilize the app’s Spot Finder tool.
Final Thoughts
At first, connect linksys velop to different node may seem difficult, but with a little perseverance and the correct adjustments, you can greatly enhance network performance. Even though manual node switching isn’t supported directly, you can still affect device behavior and fix common problems by knowing how Velop works.
This tutorial gives you the skills to maximize your home Wi-Fi experience, whether you’re trying to fix the Linksys Velop poor speed issue or figure out why your linksys velop not connecting to closest node.